


The LAMP stack is one of the most popular ways to run websites and applications. It combines:
- Linux → Operating system
- Apache → Web server
- MySQL → Database
- PHP → Server-side language
In this guide, you’ll learn how to install LAMP stack on Ubuntu step by step. We’ll cover everything from installing Apache and setting up a firewall, to configuring a Virtual Host, testing PHP, and linking PHP with MySQL. By the end, your server will be ready to run modern PHP applications.
Table of Contents
- Step 1 — Install Apache and Update Firewall
- Step 2 — Install MySQL Database
- Step 3 — Install PHP
- Step 4 — Configure Apache Virtual Host
- Step 5 — Test PHP Processing
- Step 6 — Test Database Connection
- Conclusion
Step 1 — Install Apache and Update Firewall
Apache is the web server that delivers content to users.
Update your system and install Apache:
sudo apt update
sudo apt install apache2
Check status:
systemctl status apache2If you see active (running), Apache is working.
Configure Firewall
List profiles:
sudo ufw app listAllow HTTP traffic:
sudo ufw allow "Apache"Now visit:
http://your_server_ip
If you see the Apache default page, your server is live.
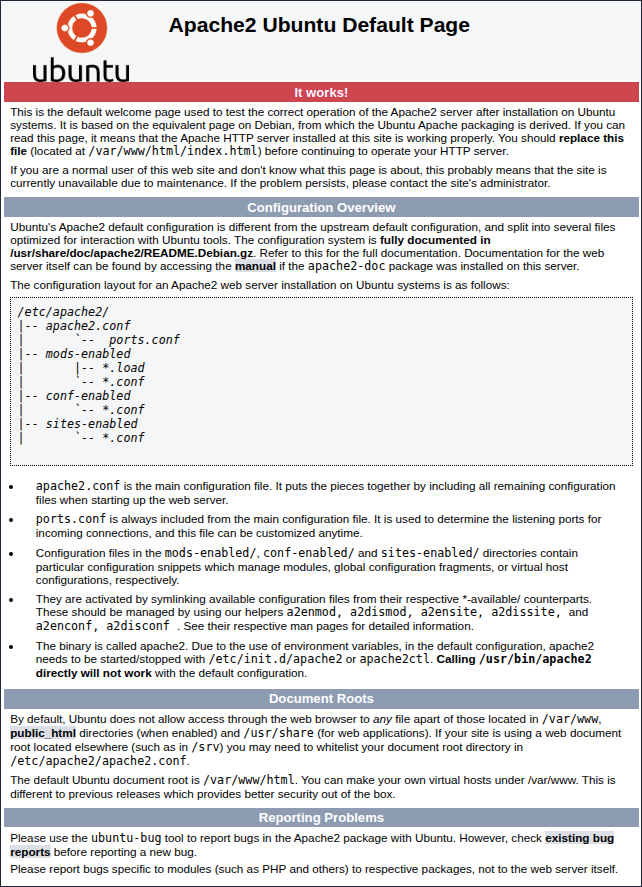 install lamp stack on ubuntu apache test page
Step 2 — Install MySQL Database
Next, install MySQL to manage website data.
sudo apt install mysql-serverSecure MySQL
sudo mysql_secure_installationSet a root password, remove test databases, and block remote root access.
Test MySQL
sudo mysql -u root -pIf you see the MySQL prompt, installation is successful.
Step 3 — Install PHP
PHP connects Apache with MySQL.
Install PHP with common extensions:
sudo apt install php libapache2-mod-php php-mysqlCheck PHP version:
php -vStep 4 — Configure Apache Virtual Host
Set up a custom Virtual Host instead of relying on the default web root.
Create directory:
sudo mkdir /var/www/your-project-name
sudo chown -R $USER:$USER /var/www/your-project-name
Create config file:
sudo nano /etc/apache2/sites-available/your-project-name.confAdd:
<VirtualHost *:80>
    ServerName your-project-name.com
    ServerAlias www.your-project-name.com
    DocumentRoot /var/www/your-project-name
    ErrorLog ${APACHE_LOG_DIR}/your_project_name_error.log
    CustomLog ${APACHE_LOG_DIR}/your_project_name_access.log combined
</VirtualHost>
Enable the site and reload:
sudo a2ensite your-project-name
sudo systemctl reload apache2
3) Add Test Page
nano /var/www/your-project-name/index.htmlPaste:
<h1>Welcome from My Project!</h1>Visit in browser: http://your_server_ip
You should see:
 index.html page test
Step 5 — Test PHP Processing
Create test file:
nano /var/www/your-project-name/info.phpAdd:
<?php
phpinfo();
?>
Visit:
http://your_server_ip/info.php
You should see PHP details.
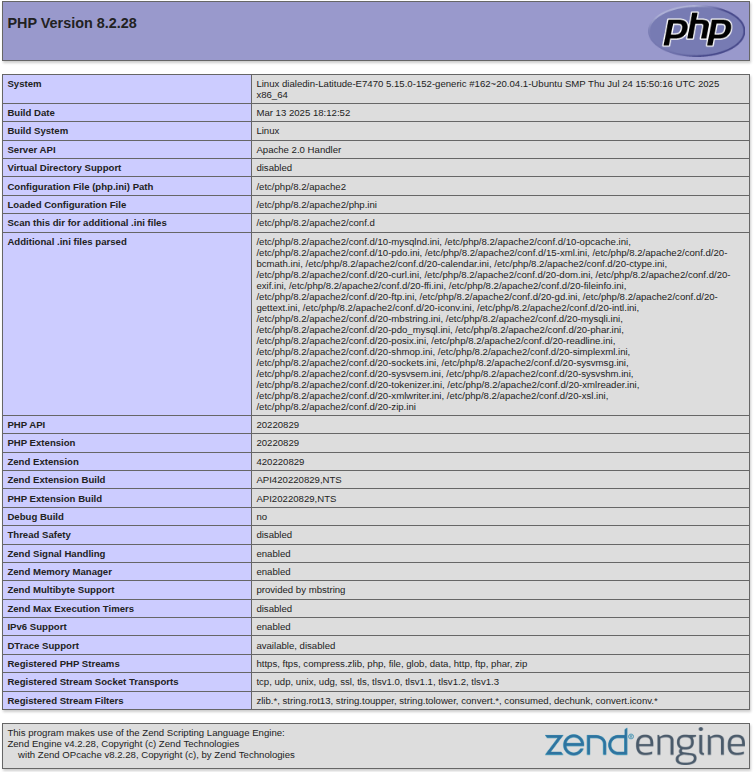 install lamp stack on ubuntu php info page
Step 6 — Test Database Connection
Create Database
sudo mysqlCREATE DATABASE sampledb;
CREATE USER 'sampleuser'@'localhost' IDENTIFIED BY 'password';
GRANT ALL PRIVILEGES ON sampledb.* TO 'sampleuser'@'localhost';
FLUSH PRIVILEGES;
EXIT;Create PHP DB Test Script
nano /var/www/your-project-name/dbtest.php<?php
$mysqli = new mysqli("localhost", "sampleuser", "password", "sampledb");
if ($mysqli->connect_error) {
die("Connection failed: " . $mysqli->connect_error);
}
echo "Database connection successful!";
$mysqli->close();
?>Visit:
http://your_server_ip/dbtest.php
You should see: Database connection successful!
Step 7 — Install Extra PHP Extensions (Optional)
sudo apt install php-cli php-curl php-mbstring php-xml php-zipphp-cli→ Run PHP from command linephp-curl→ API requestsphp-mbstring→ UTF-8 supportphp-xml→ XML handlingphp-zip→ File compression
Conclusion
You’ve successfully set up the LAMP stack (Linux, Apache, MySQL, PHP) on Ubuntu and configured a Virtual Host.
With this foundation, you can now:
- 🚀 Launch WordPress or other CMS
- 🛠️ Develop with Laravel, Symfony, or custom PHP apps
- 🔒 Prepare for production with SSL (Let’s Encrypt), secure MySQL users, and Apache hardening
👉 Next steps: 📈 To boost your online presence, follow a SEO Action Plan - 2025 to climb the rankings and attract unstoppable organic traffic.